05 PyTorch基础
PyTorch基础
理解使用PyTorch所需的所有基本概念至关重要。PyTorch完全基于张量(Tensors)。张量具有执行操作的功能。除此之外,还有许多其他概念是执行任务所需的。
现在,逐一理解所有这些概念,以深入了解PyTorch。
矩阵或张量
张量是PyTorch的关键组件。我们可以说PyTorch完全基于张量。在数学术语中,数字的矩形数组称为矩阵。在NumPy库中,这些矩阵被称为ndaaray。在PyTorch中,它被称为张量。张量是一个n维数据容器。例如,在PyTorch中,1D张量是一个向量,2D张量是一个矩阵,3D张量是一个立方体,4D张量是一个立方体向量。
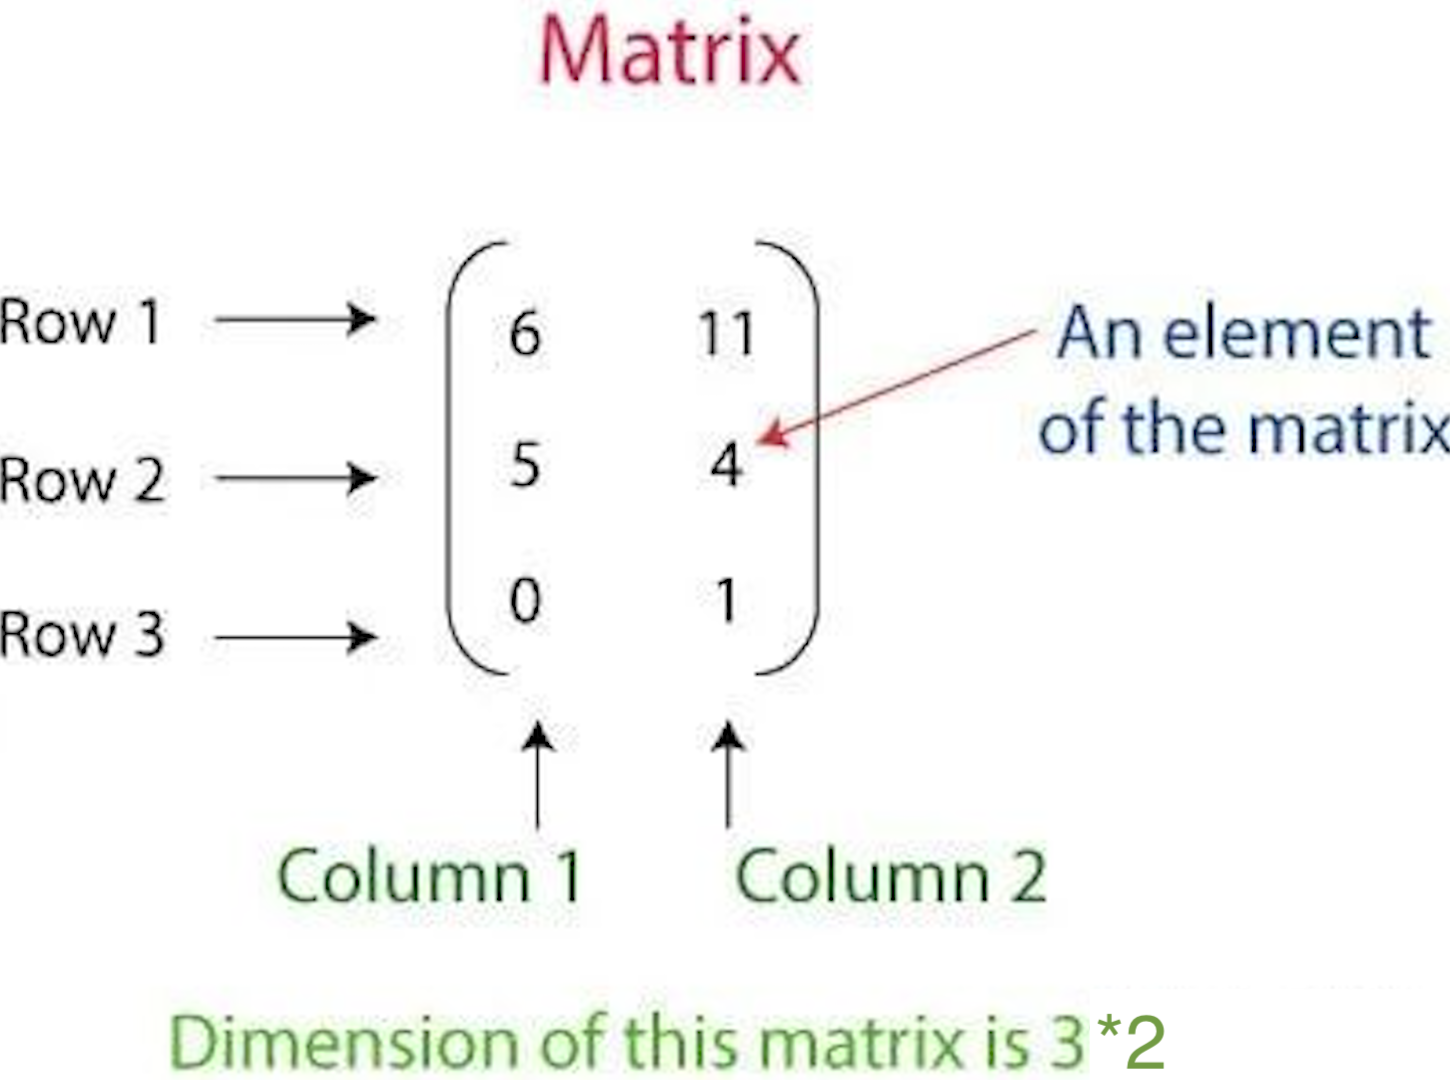
上面的矩阵表示具有三行和两列的2D张量。
有三种创建张量的方式。每一种都有不同的创建张量的方式。张量的创建方式如下:
1.使用数组创建PyTorch张量 2.创建包含全部为1和随机数的张量 3.从NumPy数组创建张量
让我们看看如何创建张量
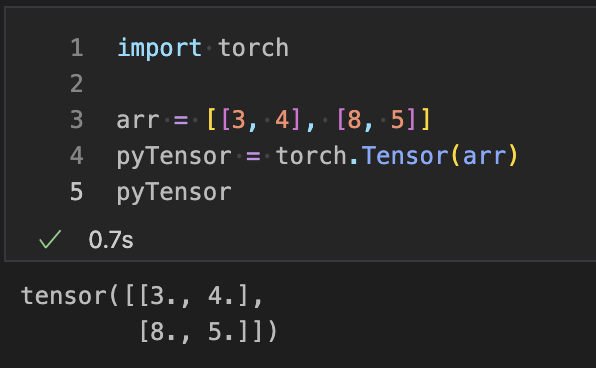
创建一个PyTorch张量作为数组
在这种情况下,您首先必须定义数组,然后将该数组作为参数传递给torch的Tensor方法。
例如
import torch
arr = [[3, 4], [8, 5]]
pyTensor = torch.Tensor(arr)
print(pyTensor)
tensor ([[3., 4.],[8., 5.]])
创建具有随机数和全部为1的张量
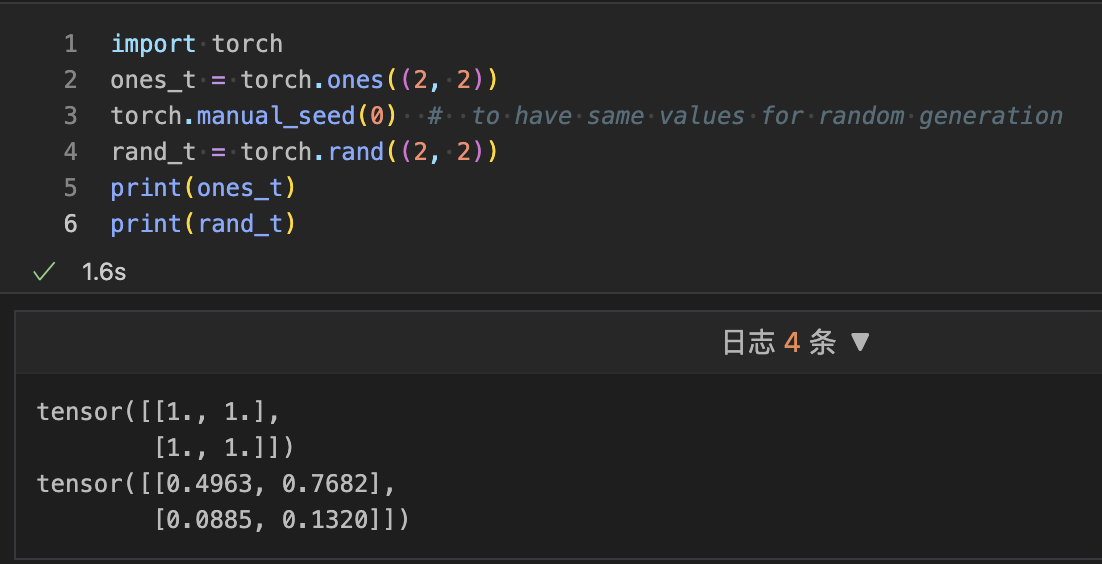
要创建一个具有随机数的张量,您必须使用rand()方法,要创建一个全部为1的张量,您必须使用torch的ones()。为了生成随机数,torch的rand之外还将使用带有0参数的manual_seed方法。
例如
import torch
ones_t = torch.ones((2, 2))
torch.manual_seed(0)  #  to have same values for random generation
rand_t = torch.rand((2, 2))
print(ones_t)
print(rand_t)
Tensor ([[1., 1.],[1., 1.]])
tensor ([[0.4963, 0.7682],[0.0885, 0.1320]])
从NumPy数组创建张量
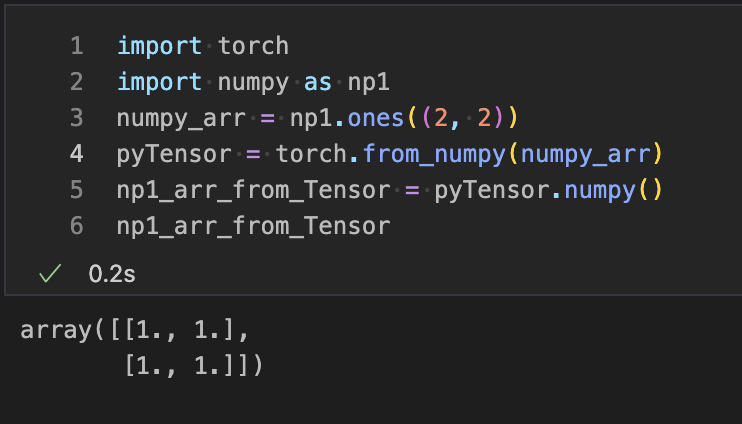
要从NumPy数组创建张量,我们必须创建一个NumPy数组。一旦创建了NumPy数组,我们必须将其作为参数传递给from_numpy()。此方法将NumPy数组转换为张量。
例如
import torch
import numpy as np1
numpy_arr = np1.ones((2, 2))
pyTensor = torch.from_numpy(numpy_arr)
np1_arr_from_Tensor = pyTensor.numpy()
print(np1_arr_from_Tensor)
[[1. 1.] [1. 1.]]
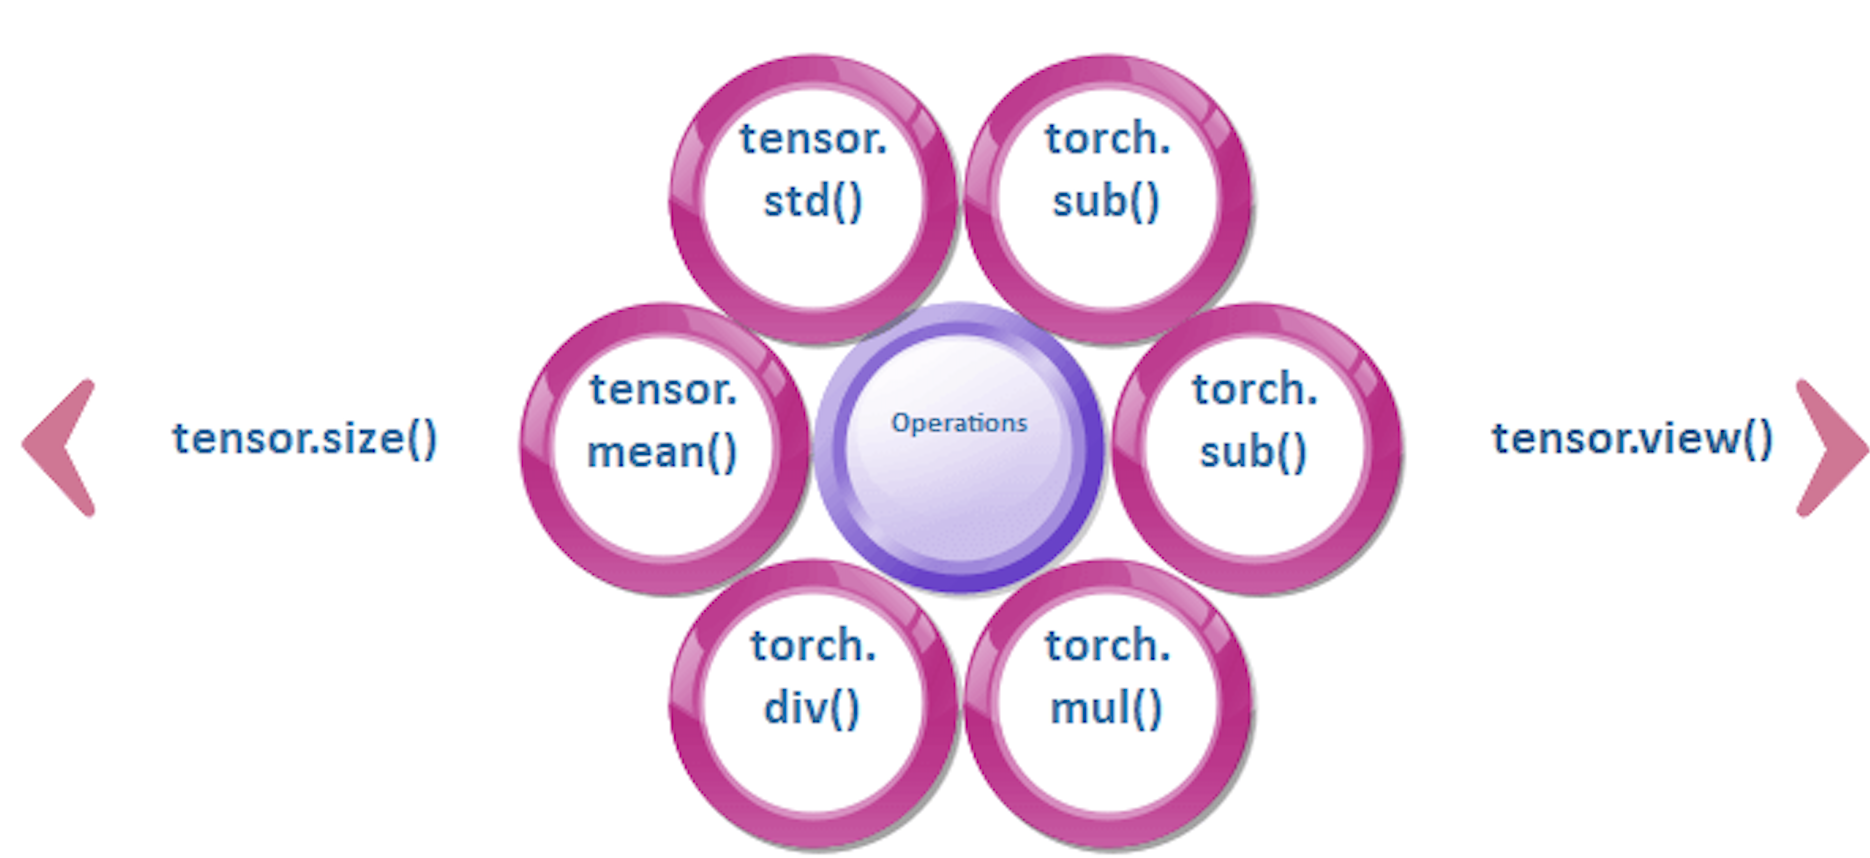
张量运算
张量类似于数组,因此我们对数组执行的所有操作也可以应用于张量。
改变张量的大小
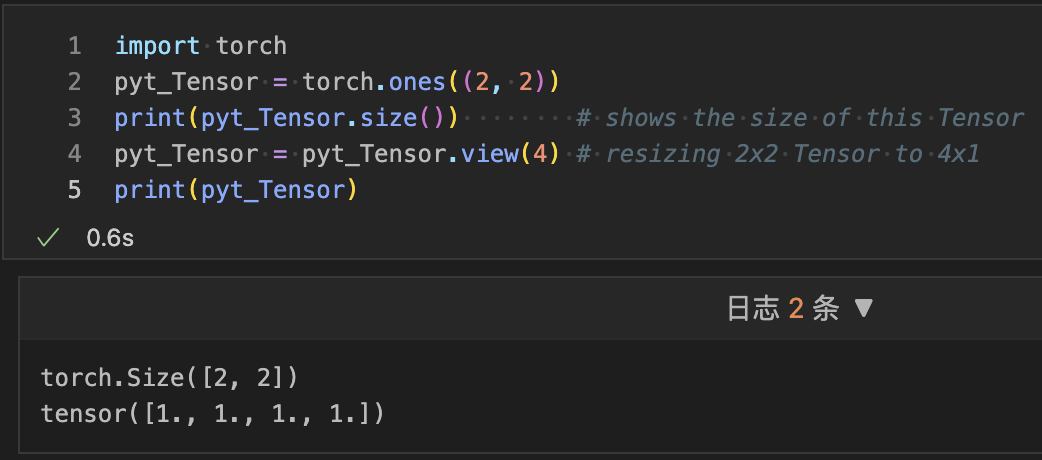
我们可以使用张量的size属性来调整张量的大小。我们使用Tensor.view()来调整张量的大小。调整张量的大小意味着将2x2维张量转换为4x1或4x4维张量转换为16x1等。要打印张量的大小,我们使用Tensor.size()方法。
让我们看一个调整张量大小的示例。
import torch
pyt_Tensor = torch.ones((2, 2))
print(pyt_Tensor.size())        # shows the size of this Tensor
pyt_Tensor = pyt_Tensor.view(4) # resizing 2x2 Tensor to 4x1
print(pyt_Tensor)
torch.Size ([2, 2])
tensor ([1., 1., 1., 1.])
数学运算
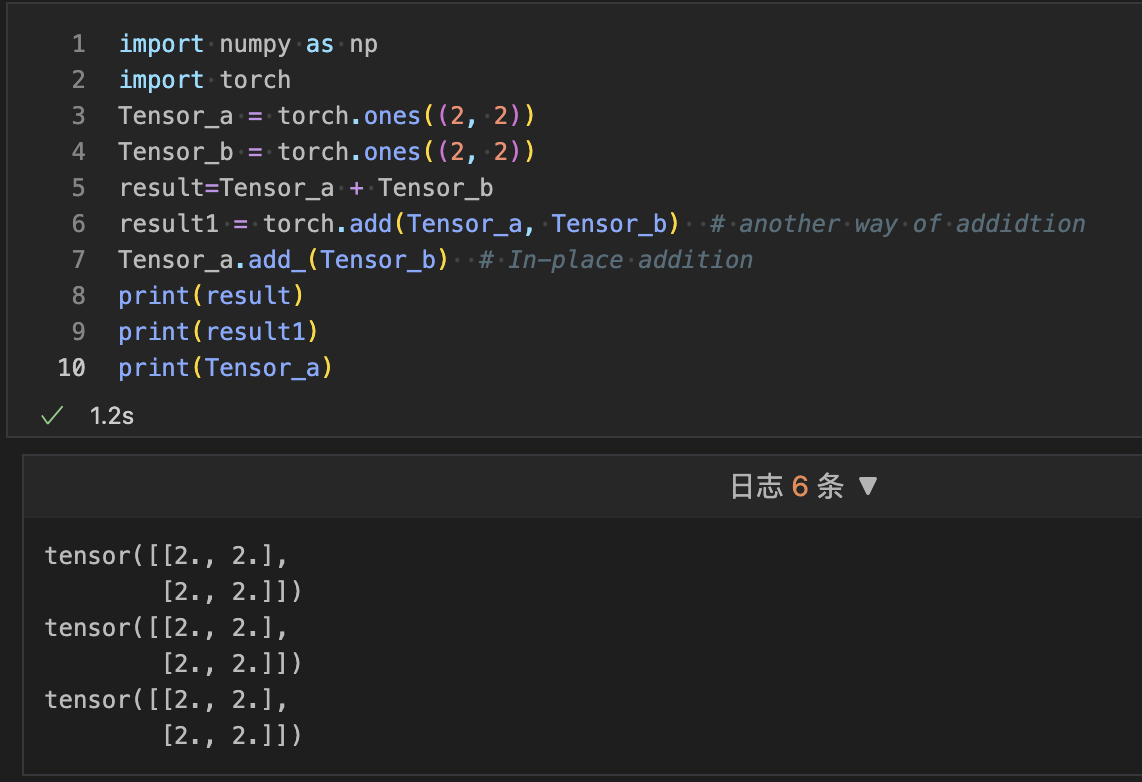
所有的数学运算,如加法、减法、除法和乘法,都可以在张量上执行。torch可以执行数学运算。我们使用torch.add()、torch.sub()、torch.mul()和torch.div()来执行张量上的操作。 让我们看一个数学运算如何执行的示例:
import numpy as np
import torch
Tensor_a = torch.ones((2, 2))
Tensor_b = torch.ones((2, 2))
result=Tensor_a + Tensor_b
result1 = torch.add(Tensor_a, Tensor_b)  # another way of addidtion
Tensor_a.add_(Tensor_b)  # In-place addition
print(result)
print(result1)
print(Tensor_a)
tensor ([[2., 2.], [2., 2.]])
tensor ([[2., 2.], [2., 2.]])
均值和标准差
我们可以计算张量的标准差,无论是一维还是多维。在我们的数学计算中,我们首先要计算均值,然后在给定的数据上应用以下公式。 图片
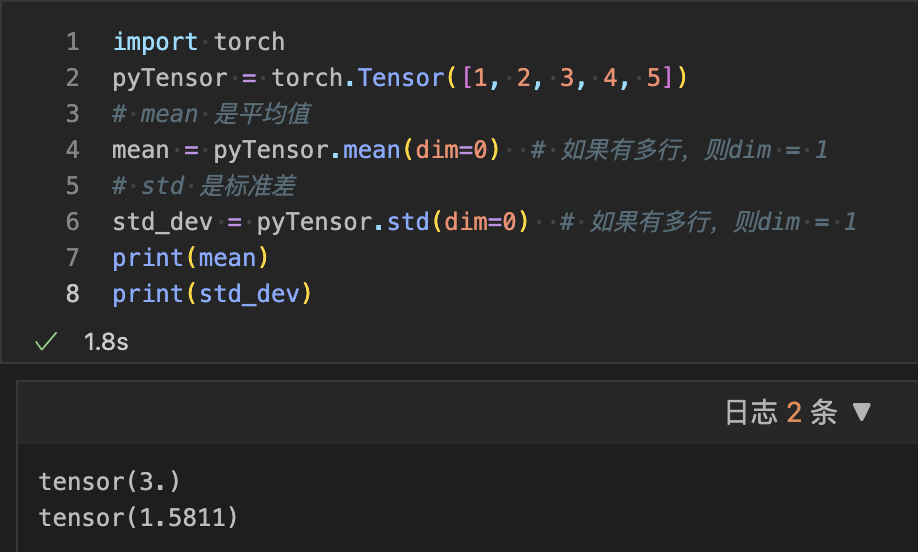
但在张量中,我们可以使用Tensor.mean()和Tensor.std()来找到给定张量的偏差和均值。 让我们看一个计算的示例。
import torch
pyTensor = torch.Tensor([1, 2, 3, 4, 5])
# mean 是平均值
mean = pyTensor.mean(dim=0)  # 如果有多行,则dim = 1
# std 是标准差
std_dev = pyTensor.std(dim=0)  # 如果有多行,则dim = 1
print(mean)
print(std_dev)
tensor (3.)
tensor (1.5811)
变量和梯度
该包的中心类是autograd.variable。其主要任务是包装一个Tensor。它支持几乎所有在其上定义的操作。您可以调用.backword(),只有在完成计算时才计算所有梯度。 通过.data属性,您可以访问原始张量,而此变量的梯度累积到.grad中。 图片
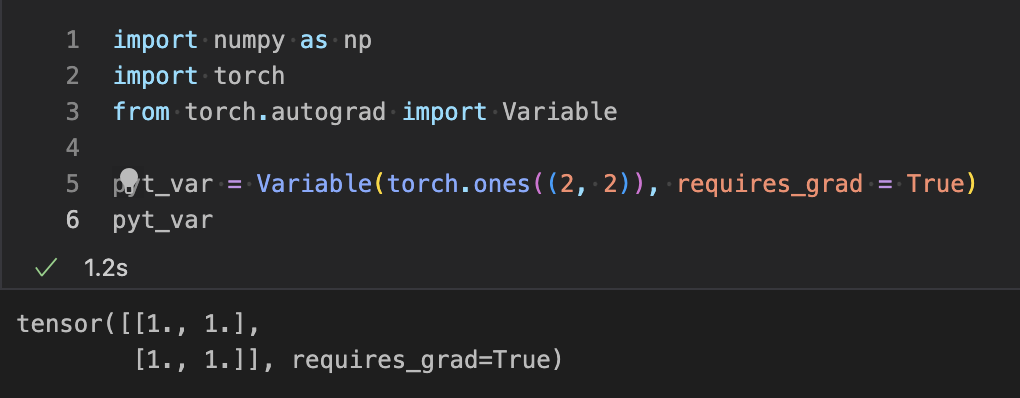
在深度学习中,梯度计算是关键点。在PyTorch中,变量用于计算梯度。简单来说,变量只是具有梯度计算功能的张量的包装器。 下面是用于管理变量的Python代码。
import numpy as np
import torch
from torch.autograd import Variable

pyt_var = Variable(torch.ones((2, 2)), requires_grad = True)
print(pyt_var)
 让我们看看如何在PyTorch中计算梯度。
示例
让我们看看如何在PyTorch中计算梯度。
示例
import numpy as np
import torch
from torch.autograd import Variable
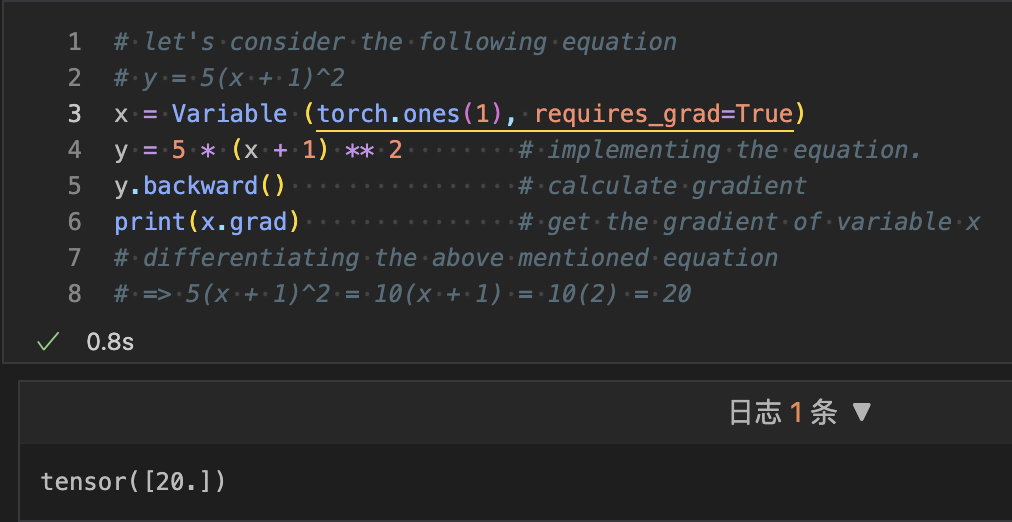
# let's consider the following equation
# y = 5(x + 1)^2
x = Variable (torch.ones(1), requires_grad = True)
y = 5 * (x + 1) ** 2 # implementing the equation.
y.backward() # calculate gradient
print(x.grad) # get the gradient of variable x
# differentiating the above mentioned equation
# => 5(x + 1)^2 = 10(x + 1) = 10(2) = 20
tensor([20.])